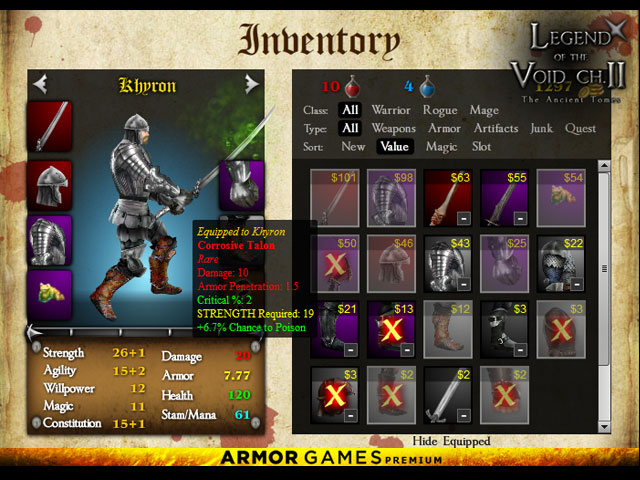
Beecolor.com / Legend of the Void 2 image 3