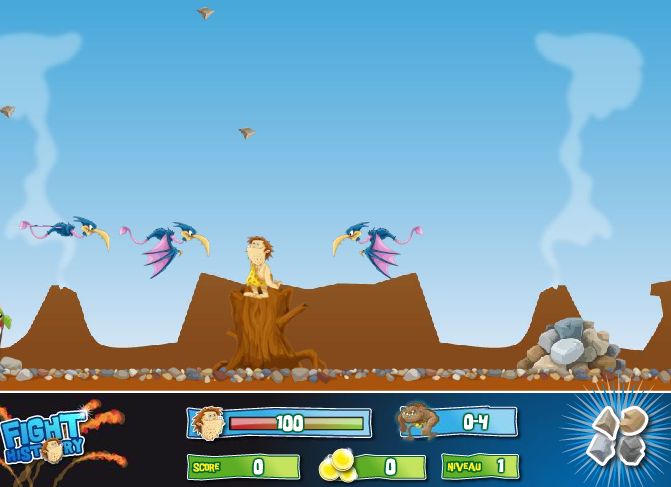
Beecolor.com / Fight History image 2